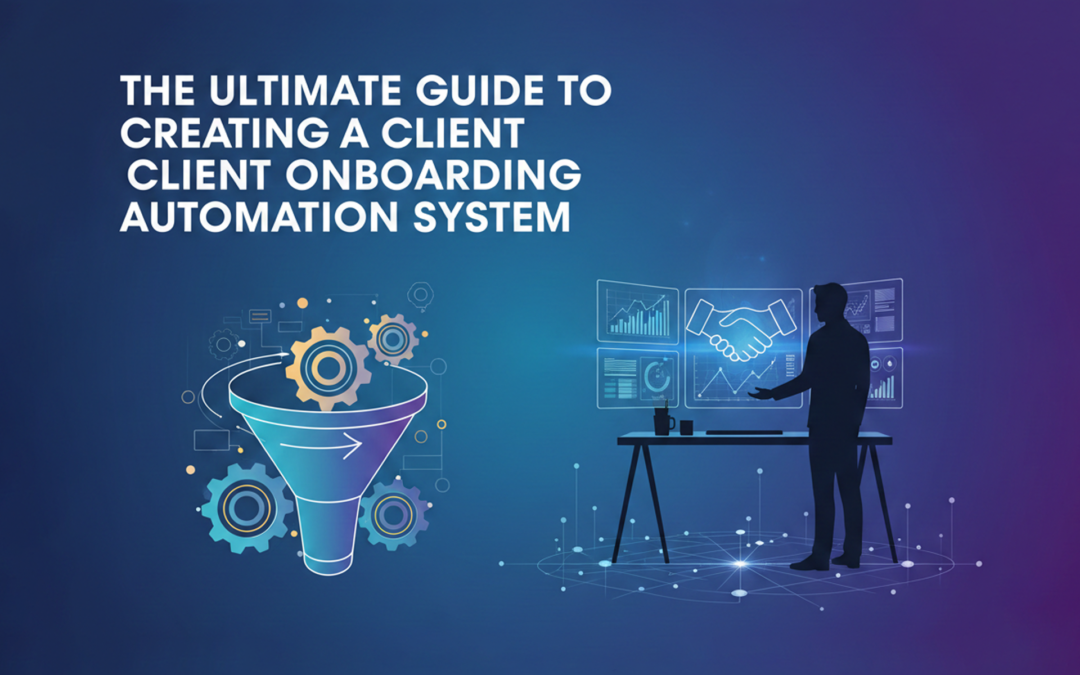
Introduction
First impressions matter. When a new client signs on, the first 7 days determine whether they become a raving fan or a regretful buyer. Yet most service businesses wing it. Scattered emails. Forgotten steps. Manual handoffs. The result? Confused clients, stressed teams, and wasted time. Client onboarding automation changes everything. A well-designed onboarding system ensures every client gets a world-class experience—automatically. No missed steps. No delayed follow-ups. Just a smooth, professional process that runs 24/7.
In this ultimate guide, you’ll learn how to build a complete client onboarding automation system that: – Saves 10+ hours per client – Increases client satisfaction by 40%+ – Reduces onboarding errors to near zero – Scales effortlessly as you grow
Let’s build it step by step.
Why Client Onboarding Automation Matters
The Cost of Manual Onboarding: – Time drain: 10-15 hours per client in administrative tasks – Inconsistent experience: Different clients get different quality – Errors and delays: Forgotten emails, missed documents – Team bottlenecks: Growth limited by manual capacity – Client confusion: Unclear next steps create anxiety
The Benefits of Automation: – Time savings: Reduce onboarding work by 80% – Consistency: Every client gets the same excellent experience – Scalability: Onboard 5 clients or 50 with the same effort – Client confidence: Clear process builds trust immediately – Team efficiency: Focus on delivery, not administration
According to research, companies with formal onboarding processes see 50% higher client retention. The ROI is clear.
The 7 Stages of Client Onboarding Automation
A complete onboarding system covers seven sequential stages:
Stage 1: Welcome & Expectations
Stage 2: Information Gathering
Stage 3: Payment & Contracts
Stage 4: Kickoff & Planning
Stage 5: Access & Resources
Stage 6: First Milestone
Stage 7: Feedback & Optimization
Let’s build each stage.
Stage 1: Welcome & Expectations
Trigger: Client signs contract or makes payment
Objective: Make clients feel valued and clarify what happens next
Automated Actions:
1. Immediate Welcome Email (Sent within 1 minute)
Subject: Welcome to [Your Company]! Here’s What Happens Next
Hi [Client Name],
Welcome to the [Your Company] family! We’re excited to work with you on [Project/Service].
Here’s what you can expect in the next 48 hours:
- Today: Access to your client portal
- Within 24 hours: Your onboarding questionnaire
- Within 48 hours: Your dedicated account manager will reach out
In the meantime, here are some helpful resources:
- [Getting Started Guide]
- [FAQ Document]
- [Video: What to Expect]
Questions? Reply to this email or text us at [Phone Number].
Looking forward to an amazing partnership!
[Your Name]
[Your Company]
2. Slack/Team Notification Alert your team that a new client is onboarding: – Client name – Project type – Assigned account manager – Next steps
3. CRM Update – Tag client as “Onboarding – Stage 1” – Create project pipeline – Assign tasks to team
Tools: AI Leads Builder or GHL can trigger all three actions from one contract signature.
Stage 2: Information Gathering
Trigger: 24 hours after welcome email
Objective: Collect all information needed to deliver excellent work
Automated Actions:
1. Send Onboarding Questionnaire Deliver a comprehensive intake form via email:
Essential Questions: – Business background and goals – Target audience and market – Current challenges and pain points – Success metrics and KPIs – Preferred communication methods – Access to necessary tools/accounts – Brand guidelines and assets
Format: Use Typeform, Google Forms, or native forms in GHL/AI Leads Builder
2. Reminder Sequence If the form isn’t completed within 48 hours: – Day 3: Friendly reminder email – Day 5: “Need help?” email with offer to schedule call – Day 7: Team member reaches out personally
3. Document Request Automated email requesting any necessary files: – Brand assets (logos, colors, fonts) – Access credentials – Previous work examples – Competitor information
CRM Update: Move to “Onboarding – Stage 2” when form is submitted
Stage 3: Payment & Contracts
Trigger: Client completes onboarding questionnaire
Objective: Secure payment and finalize legal agreements
Automated Actions:
1. Invoice Delivery (If not already paid) – Send invoice via email – Include payment link (Stripe, PayPal) – Set payment terms clearly – Automate payment reminders
2. Contract Signing If contracts aren’t signed: – Send DocuSign or HelloSign link – Include contract review video – Set 7-day signing deadline – Reminder at day 5 if unsigned
3. Payment Confirmation Email Once payment clears:
Subject: Payment Received – You’re All Set!
Hi [Client Name],
Great news! Your payment has been processed successfully.
Your project officially kicks off on [Date].
Next Steps:
- You’ll receive your kickoff call invitation tomorrow
- Your account manager will reach out within 24 hours
- Access to your client portal is now active
Ready to make magic happen!
[Your Name]
CRM Update: Move to “Onboarding – Stage 3” upon payment confirmation
Stage 4: Kickoff & Planning
Trigger: Payment confirmed
Objective: Align expectations and create project roadmap
Automated Actions:
1. Schedule Kickoff Call – Auto-send calendar invitation – Include video conference link – Attach kickoff agenda – Send reminder 1 day before
Kickoff Agenda Template: 1. Introductions (5 min) 2. Review questionnaire responses (10 min) 3. Clarify project scope (15 min) 4. Establish timeline and milestones (10 min) 5. Communication protocols (5 min) 6. Q&A (15 min)
2. Pre-Call Preparation Email (Sent 48 hours before call)
Subject: Kickoff Call in 2 Days – Here’s How to Prepare
Hi [Client Name],
Our kickoff call is scheduled for [Date/Time].
To make the most of our time together, please:
- Review your questionnaire responses
- Prepare any additional questions
- Have brand assets ready to share
- Block 60 minutes on your calendar
See you soon!
3. Post-Call Summary (Manual, then automated template) After the call, send: – Meeting notes – Action items with owners – Timeline confirmation – Next milestone date
CRM Update: Move to “Onboarding – Stage 4” after kickoff call
Stage 5: Access & Resources
Trigger: Kickoff call completed
Objective: Give clients everything they need to collaborate effectively
Automated Actions:
1. Client Portal Access Email
Subject: Your Client Portal is Ready!
Hi [Client Name],
Welcome to your dedicated client portal!
Login here: [Portal Link]
Username: [Email]
Temporary Password: [Password]
Inside your portal you’ll find:
- All project files and deliverables
- Project timeline and milestones
- Direct messaging with your team
- Real-time progress tracking
Bookmark this page—you’ll use it throughout our project.
Questions? We’re here to help!
2. Resource Library Email Share helpful resources: – How-to guides – Video tutorials – FAQ document – Communication guidelines – Brand standards (if applicable)
3. Tool Access Setup Grant access to necessary platforms: – Project management tool (Asana, Monday.com) – File sharing (Google Drive, Dropbox) – Communication (Slack channel) – Review platforms (if applicable)
CRM Update: Move to “Onboarding – Stage 5” when portal access is granted
Stage 6: First Milestone
Trigger: First deliverable or milestone date approaches
Objective: Deliver first results and build momentum
Automated Actions:
1. Pre-Milestone Reminder (3 days before)
Subject: Your First Deliverable Arrives [Day]!
Hi [Client Name],
Exciting news! Your first [deliverable] will be ready on [Date].
What to expect:
- Delivered via your client portal
- Video walkthrough included
- Feedback form attached
- Review deadline: [Date]
We can’t wait to show you what we’ve built!
2. Delivery Notification
Subject: Your [Deliverable] is Ready for Review!
Hi [Client Name],
We’re thrilled to share your [deliverable]!
- Access it here: [Link to Portal]
- Watch the walkthrough: [Video Link]
- Share feedback: [Form Link]
Please review by [Date] so we can keep your project on track.
Looking forward to your thoughts!
3. Feedback Request Sequence If no feedback after 48 hours: – Day 3: Gentle reminder – Day 5: “Need clarification?” email – Day 7: Personal outreach from account manager
CRM Update: Move to “Onboarding – Stage 6” when first milestone is delivered
Stage 7: Feedback & Optimization
Trigger: First milestone feedback received
Objective: Optimize the relationship and identify improvement opportunities
Automated Actions:
1. Feedback Survey
Subject: How Are We Doing? (2-Minute Survey)
Hi [Client Name],
Now that we’re a few weeks into the project, we’d love your feedback.
This 2-minute survey helps us serve you better:
[Survey Link]
Your honest input makes all the difference.
Thank you for being an amazing client!
Survey Questions: 1. How satisfied are you with the onboarding process? (1-10) 2. Was anything confusing or unclear? 3. How responsive has our team been? 4. What could we improve? 5. How likely are you to recommend us? (NPS)
2. Thank You & Next Steps
Subject: Thank You + What’s Next
Hi [Client Name],
Thank you for completing our feedback survey!
Based on your input, here’s what’s next:
- [Action item based on feedback]
- Next milestone: [Date]
- Upcoming check-in call: [Date]
We’re committed to exceeding your expectations!
3. Internal Process Update If feedback reveals gaps: – Update onboarding workflow – Adjust templates – Train team on improvements
CRM Update: Move to “Active Client” status—onboarding complete!
Building Your Automation Tech Stack
Essential Tools:
1. CRM Platform – AI Leads Builder – Best for AI-powered workflows – GoHighLevel (GHL) – Best for all-in-one management
2. Email Automation Built into AI Leads Builder and GHL, or use: – ActiveCampaign – ConvertKit
3. Forms & Surveys – Typeform (beautiful UX) – Google Forms (free) – Native forms in GHL/AI Leads Builder
4. Document Signing – DocuSign – HelloSign – PandaDoc
5. Payment Processing – Stripe (integrated in GHL/AI Leads Builder) – PayPal – Square
6. Scheduling – Calendly (integrates with GHL) – Built-in calendar in GHL/AI Leads Builder
7. Client Portal – Built-in with GHL – Client Portal by AI Leads Builder – Custom portal via Notion or Airtable
Implementation Timeline
Week 1: Planning – Map current onboarding process – Identify automation opportunities – Choose tech stack – Draft email templates
Week 2: Setup – Configure CRM workflows – Create email sequences – Build forms and surveys – Set up payment integration
Week 3: Testing – Run test onboarding with team member – Identify gaps and errors – Refine timing and messaging – Get team feedback
Week 4: Launch – Deploy with next new client – Monitor closely for issues – Collect client feedback – Make adjustments
Common Pitfalls to Avoid
Pitfall 1: Over-Automation Don’t automate every interaction. Key moments (kickoff calls, milestone reviews) should feel personal.
Pitfall 2: Poor Timing Space emails appropriately. Bombarding clients with 5 emails in one day creates overwhelm.
Pitfall 3: Generic Messaging Use merge fields to personalize. “Hi [First Name]” beats “Hi there” every time.
Pitfall 4: No Escape Valve Always provide a way for clients to reach a human. Automation should support, not replace, personal service.
Pitfall 5: Set and Forget Review automation performance monthly. Client needs evolve—your onboarding should too.
Measuring Success
Key Metrics:
Time Savings – Hours per client before automation: _____ – Hours per client after automation: _____ – Time saved: _____ Client Satisfaction – NPS score before: _____ – NPS score after: _____ – Improvement: _____ Process Efficiency – Onboarding completion rate: _____ – Average time to first milestone: _____ – Error/missed step rate: _____ Business Impact – Client retention rate: _____ – Referral rate: _____ – Onboarding capacity increase: _____
Conclusion
Client onboarding automation isn’t just about saving time—it’s about creating an experience so good that clients become raving fans before you’ve delivered a single result. When done right, automation makes your business feel more personal, not less. Clients get instant responses, clear expectations, and a seamless journey from signup to success. Start with the seven-stage framework. Build one stage at a time. Test thoroughly. Refine based on feedback. Within 90 days, you’ll have an onboarding system that works 24/7, delights every client, and frees your team to focus on what actually matters: delivering exceptional results.
Your move: Build stage 1 this week.